And now for the burlap banner... these are ALL over Pinterest. I love how simple and pretty they are, especially when draped across a mantle.
Step 1:
You will need burlap, a paint brush and some paint, ribbon to attach your pendants too, and some accent ribbon. (Yes - this project is as cheap as it seems)
Step 2:
Cut out a pattern for your pendants. And then trace that shape on your burlap.
Step 3:
Get your painting area ready... when you paint on burlap, the paint DOES bleed through. Just a warning. :)
Step 4:
Paint your phrase, words, or design on your pendants and let dry overnight. Burlap soaks up more paint than you think.
Step 5:
Bust out that hot glue gun... glue each pendant on to your main ribbon. I used a burlap/twine-esque ribbon that I found at Jo-Anns. Here's a "duh" comment, but if you are going to hang something in between, make sure to test it out BEFORE you glue.
Step 6:
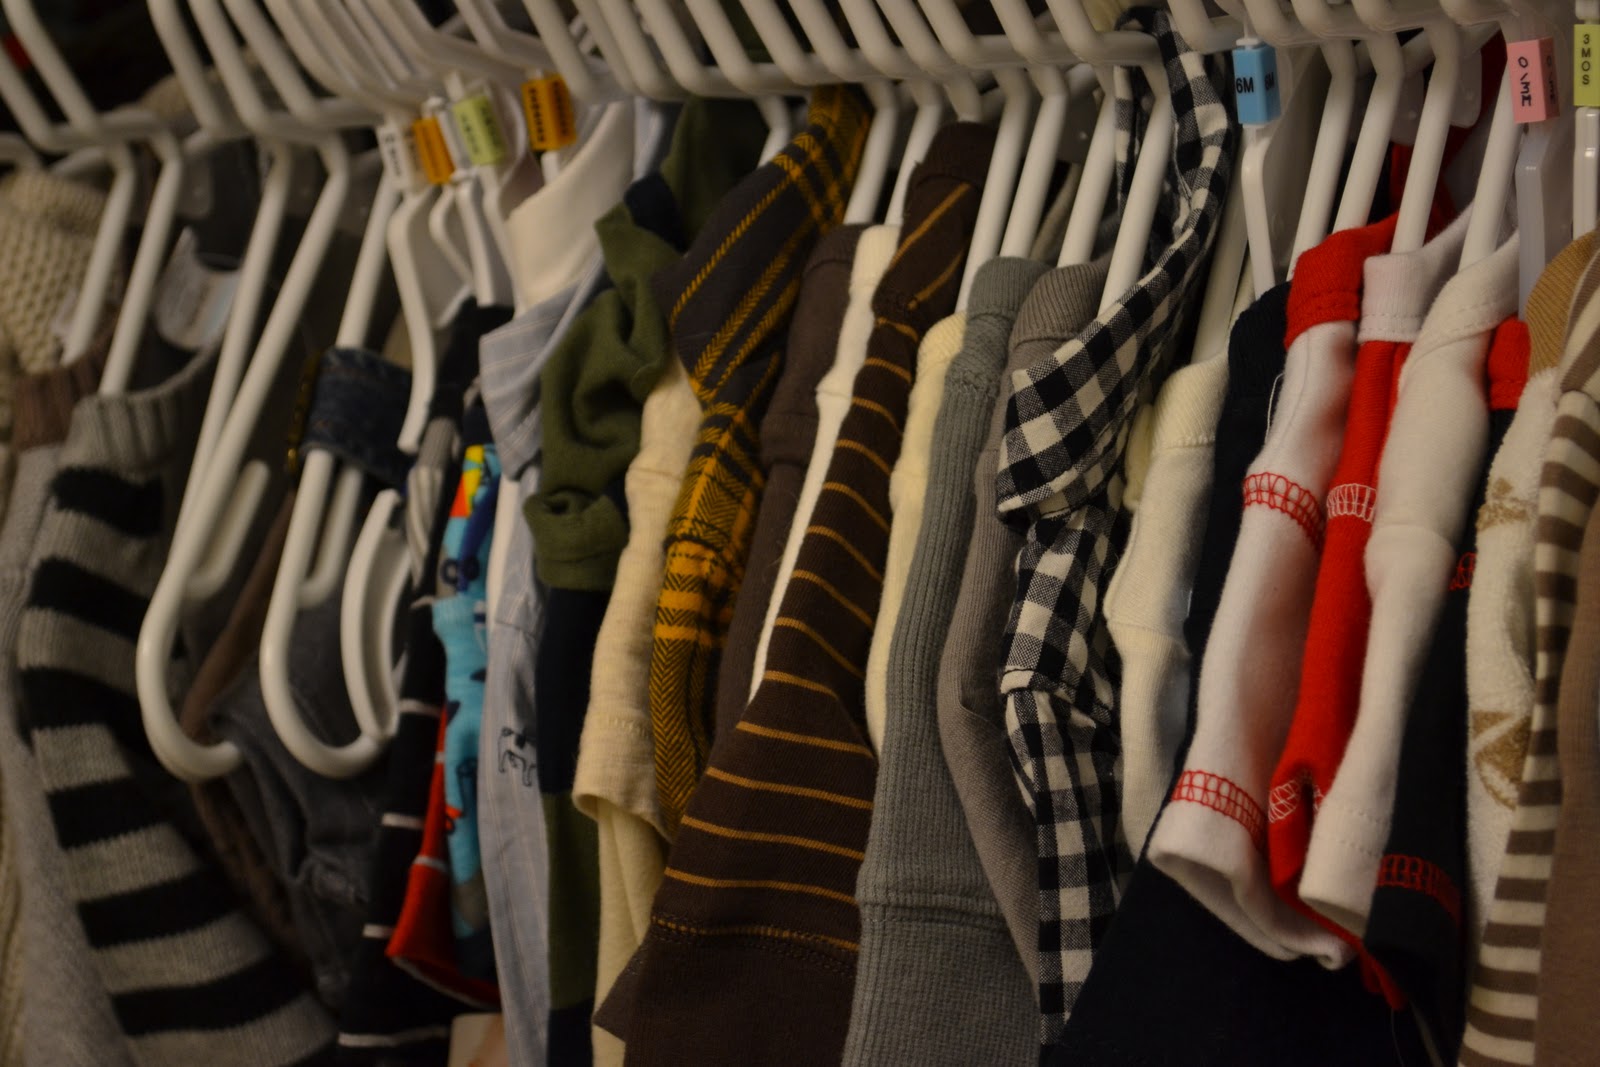
FINAL PRODUCT... burlap banner with fabric onesies. Total project time = about 2 hours... when you take out the overnight drying and laundry load that had to be done.
And tomorrow, the baby wish book... another SUPER EASY project that will be a sweet keepsake for the mommy-to-be.
Friday, November 11, 2011
Thursday, November 10, 2011
DIY - Baby Shower Edition.
Along with about all of my other friends, I am loving some Pinterest. The ideas, or should I say "pins," are definitely getting crafty-wheels turning in my head, especially with Bridgette's baby shower. For Bridgette's shower, I took on three DIY projects: onesies, a burlap banner, and a wish book. The onesies - so simple, easy and they only took about 20-30 minutes to make.
Here we go...
Step 1:
You will need Heat Bond - Ultra Hold (they sell it in sheets at Jo-Anns or your local fabric store), baby onesies and fabric of your choosing. Make sure to pre-wash the onesies and the fabric before beginning.


Step 3:
Find your favorite shapes, print out and then trace on to your fabric "sheets." Remember, you will be using the flip side of the fabric... so for my shapes, I flipped them face down so they would look like my print-outs.
Step 4:
Cut out your fabric pieces.
Step 5:
Peel off the back on your fabric pieces; place on your onesie; iron over the fabric.
Step 6:
"Oooo" and "aaaaah" at how cute your little project turned out!
Next up, the burlap banner and wish book! Stay tuned...
Here we go...
Step 1:
You will need Heat Bond - Ultra Hold (they sell it in sheets at Jo-Anns or your local fabric store), baby onesies and fabric of your choosing. Make sure to pre-wash the onesies and the fabric before beginning.
Step 2:
Iron the Ultra-Bond on to the back of your fabric - following the directions on the Ultra
Bond packaging... they are super easy to follow!Step 3:
Find your favorite shapes, print out and then trace on to your fabric "sheets." Remember, you will be using the flip side of the fabric... so for my shapes, I flipped them face down so they would look like my print-outs.
Step 4:
Cut out your fabric pieces.
Peel off the back on your fabric pieces; place on your onesie; iron over the fabric.
Step 6:
"Oooo" and "aaaaah" at how cute your little project turned out!
Next up, the burlap banner and wish book! Stay tuned...
Wednesday, November 9, 2011
Celebrating Babies.
The last couple of months have been swirling around wedding details... but in between the flowers, rings and dresses, there are two little babies that are quickly stealing my heart. Not only do I become a wife this next year, but also an aunt to Kam and Bridgette's twin babies!! Names are a tight secret right now, so for the purpose of this post, we will have Baby Girl and Baby Boy. :) With yummy food, a handmade cake, lots of baby clothes (most of which if they came in my size, I would TOTALLY wear), a sneak peek at the so-cute baby room, and a chance to try out some DIY projects (details coming up), this weekend we got to celebrate Bridgette and these new babies that will soon be making their debut in this world... hopefully not too soon!!!
Sunday, November 6, 2011
Happy Engagement.
With two more of my sorority sisters getting married next year, I can't believe wedding season is already beginning... we kicked it off last night with some margaritas, yummy Mexican food and, of course, champagne, to celebrate Steph and Danny's engagement. Wooo hooo!!
Wednesday, November 2, 2011
The Grace Project
Ever since coming back from Jamaica, my heart has been aching to do something... anything... that would take this passion for children and families in other parts of the world and put a voice to their story. It's amazing how God does things... I got home from work today and was catching up on blog world, when I noticed 2 posts from 2 separate friends about the Grace Project. Hmmm... the name alone intrigued me... my fingers couldn't move fast enough over to twirl [lbr] to find out more.
Laura Rowe is a new mommy, DIY extraordinaire, and has a unmistakeable passion for Africa. Take a minute to check our her blog and an amazing opportunity she has presented to help a woman named Grace.
"In everything I did, I showed you that by this kind of hard work we must help the weak, remembering the words the Lord Jesus himself said: ‘It is more blessed to give than to receive.’"
- Acts 20:35
Tuesday, November 1, 2011
Feeling crafty.
From recipes, fashion, and photography, to all things wedding, decorating, and my favorite, crafting... Pinterest has definitely become a new obsession. It is so entertaining viewing hundreds of pictures where total strangers take on DIY projects, but even more entertaining to see your friends bring them to life... like Cara did with her burlap wreath. LOVE IT! With Bridgette's baby shower coming up this weekend, I am putting my crafting skills to the test and taking on several DIY projects. My mom and I gathered all the necessary supplies this afternoon and throughout the week these little projects will become realities. Details to be posted after the shower... but here is what I am working with, along with about 3 yards of burlap that was a little late for the photo op.
Subscribe to:
Posts (Atom)